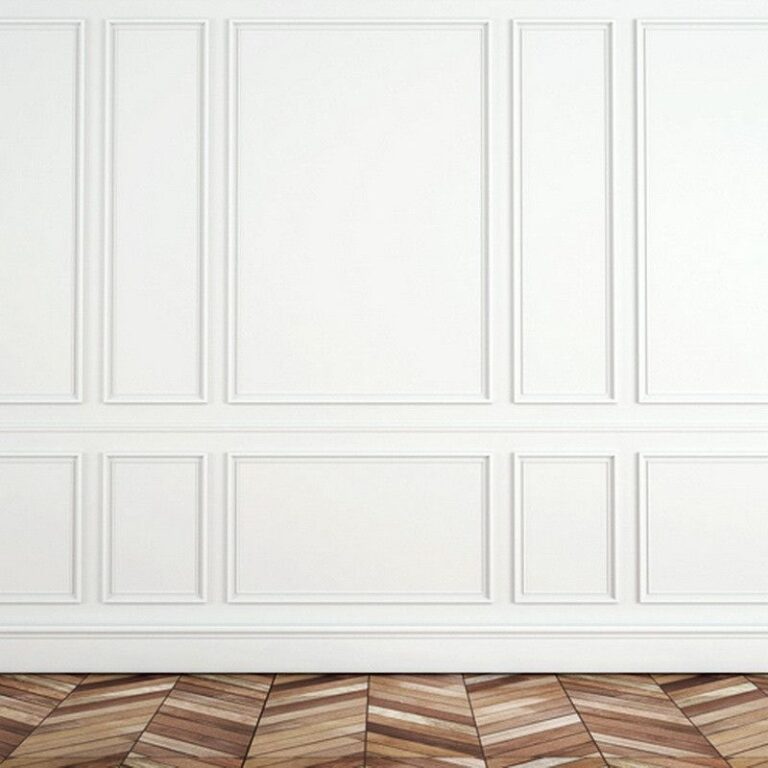
DIY Wall panel has blown over people’s homes and social media feeds, with a search rise of more than 250 percent, according to Google Trends data.
Wall paneling may take several shapes, so it’s critical to conduct your research and select the type that you believe would best complement your house. With a little know-how, you may easily and quickly create beautiful wall panel with excellent results.
Wall paneling gives a home flair, charm, and individuality. Whether you’re looking for bathroom wall panels or elegant bedroom wall panels.
Paneling gives warmth, depth, and character to any space, regardless of size, It really alters a room and is unlike any other feature wall.
grab the following items:
- Wood paneling made of MDF
- Decorators use caulk.
- saw or a cutter
- notepad and pen for taking measurements
- Sandpaper for painting or an electric sander Hammer
- Measure using a pin tape.
Step 1: Paneling a wall is a fun DIY project
It’s crucial to plan and prepare your wall beforehand. As with most DIY projects, planning is crucial to achieving the desired aesthetic. Begin by drawing out your panel walls in a notepad to have a good concept of how they will appear. You’ll keep on track and know how many panels you’ll need to finish your project. If you’re stuck for ideas, the internet is a terrific place to look. We advise you not to hurry your paneling. If you can’t determine which style to go with, postpone your project till you can.
Step 2: Take a measurement of your wall.
When paneling a wall, you must determine how many pieces of MDF wood you will need. Once you’ve determined how much you require, it’s time to measure your walls. This is one of the more difficult aspects of paneling, so take your time and perfect it.
- Using your tape measure, determine the full width and height of the wall you intend to panel.
- Choose the number of panels you want. Some people like half-paneled walls, while others prefer the full-paneled aesthetic.
- Don’t forget to include top and bottom panels (the frame), as well as vertical and horizontal panels.
It may seem simple, but make sure you precisely measure your walls. Write down all of your dimensions clearly and meticulously, down to the last centimeter, to ensure your panels are even and have a nice finish.
Step 3: Slice the panels
It’s now time to cut the panels, which will depend on the size of your wall or how much paneling you desire. You may either cut the panels yourself or get an expert to do it for you.
Carefully cut the panels that will be horizontally positioned according to the specifications with a saw and miter box at a 90-degree angle,’
A rep for the remaining vertical panels, then carefully sand the ends until glossy.
Step 4: Smooth and sand your walls.
You can use sandpaper or if you have one, an electric sander.
Prepare your walls by sanding and smoothing them down before adding the panels. This eliminates any lumps or bumps that could otherwise show through.
Step 5: Hang the panels on the wall.
Begin by putting in the frame. First, the bottom panels, then the top. Place the panel against the indicated wall and use a laser level to confirm it is straight. Apply a strong glue on the back and adhere it to the wall, being careful to press firmly and allow it to dry. Continue to build vertical panels first, then horizontal panels. No More Nails adhesive was used to adhere the panels to the wall, however for more stability and grip,
Prior to actually nailing or drilling into any walls, use a pipe and cable detector. If you are unclear whether nailing into your wall is safe, use strong glue instead.
Step 6: Fill in the spaces.
After you’ve installed the panels, go over them with decorators’ caulk to fill in any gaps, cracks, or holes. You may need to fill any gaps on the sides, but don’t worry since you can conceal this with paint.
Step 7: Apply paint to your wall panel.
Now comes the exciting part! Before painting, make sure the adhesive, decorator’s caulk, and filler (if used) are completely dry and set.


Comments are closed.